
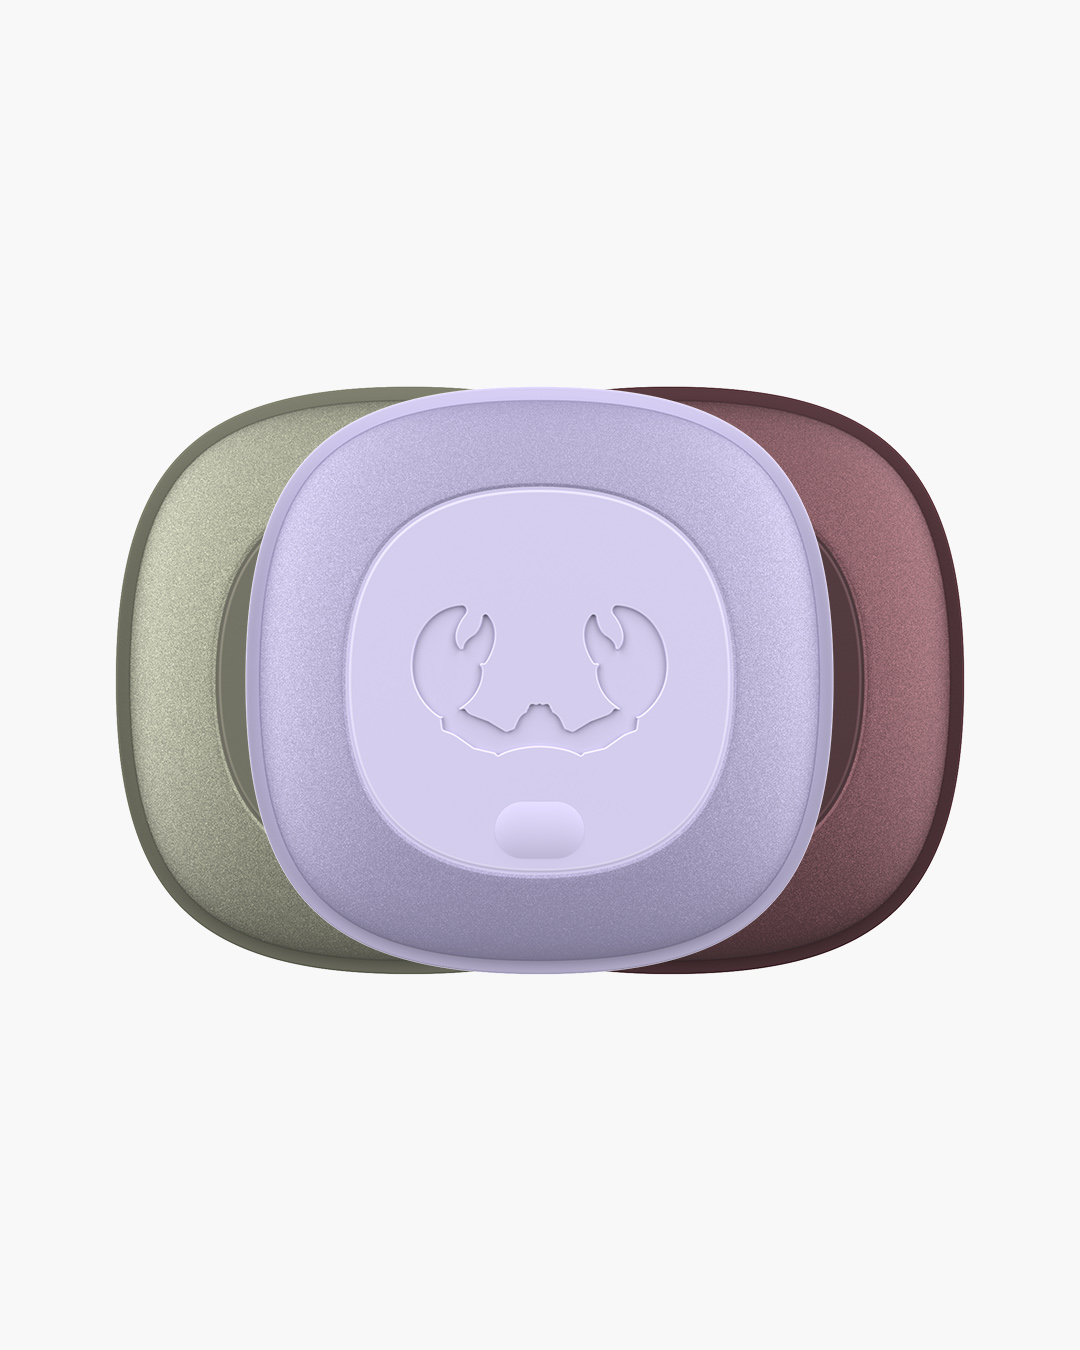

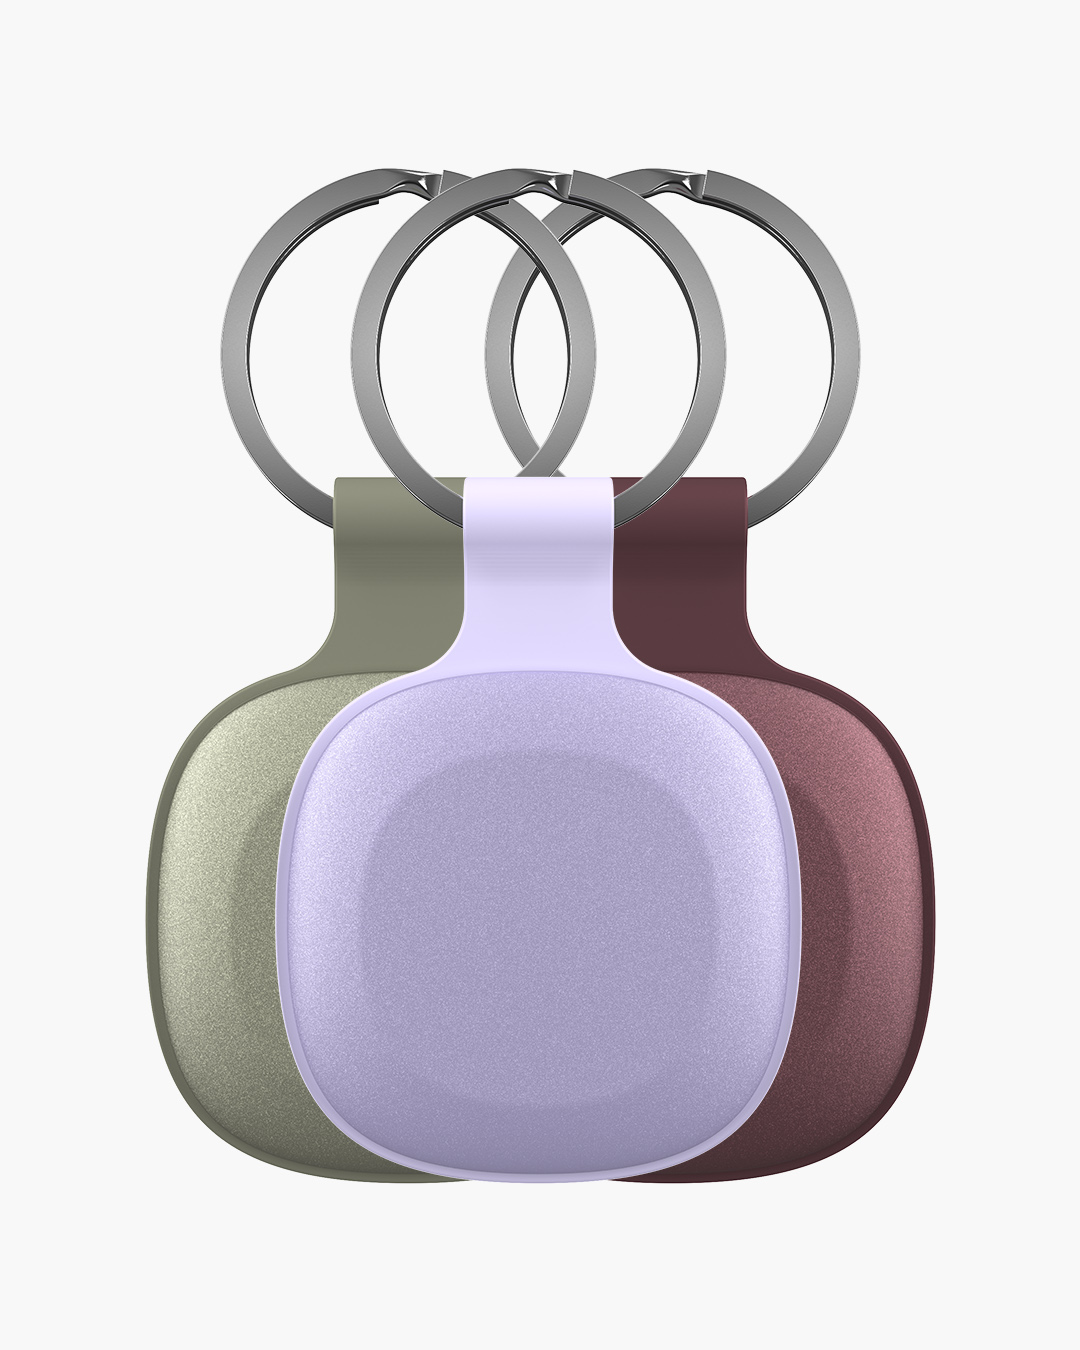
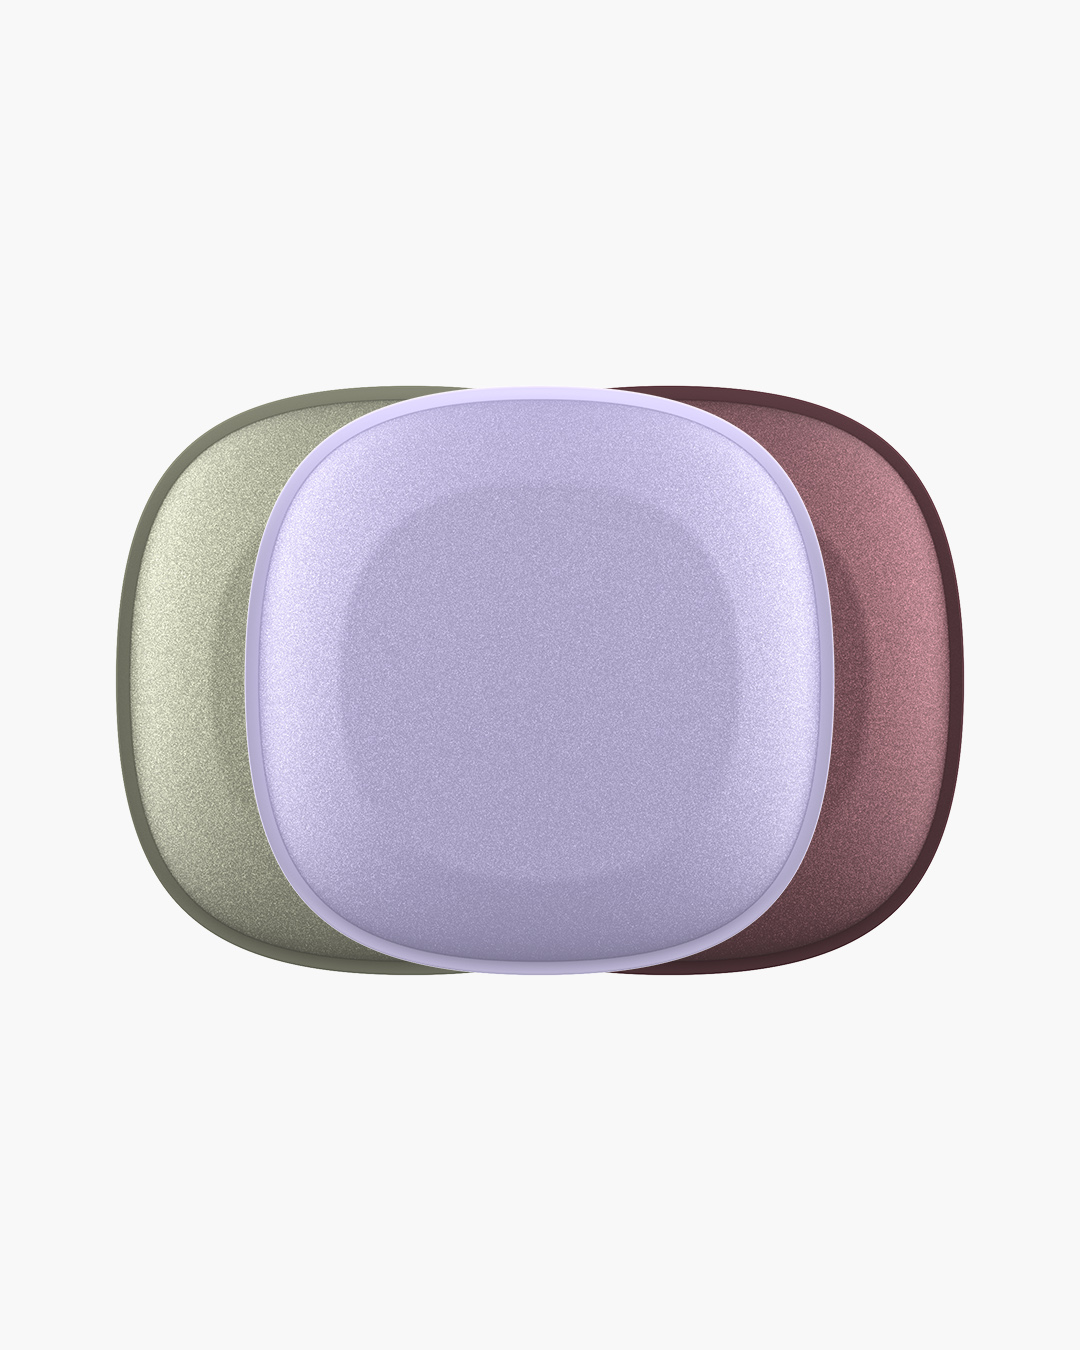
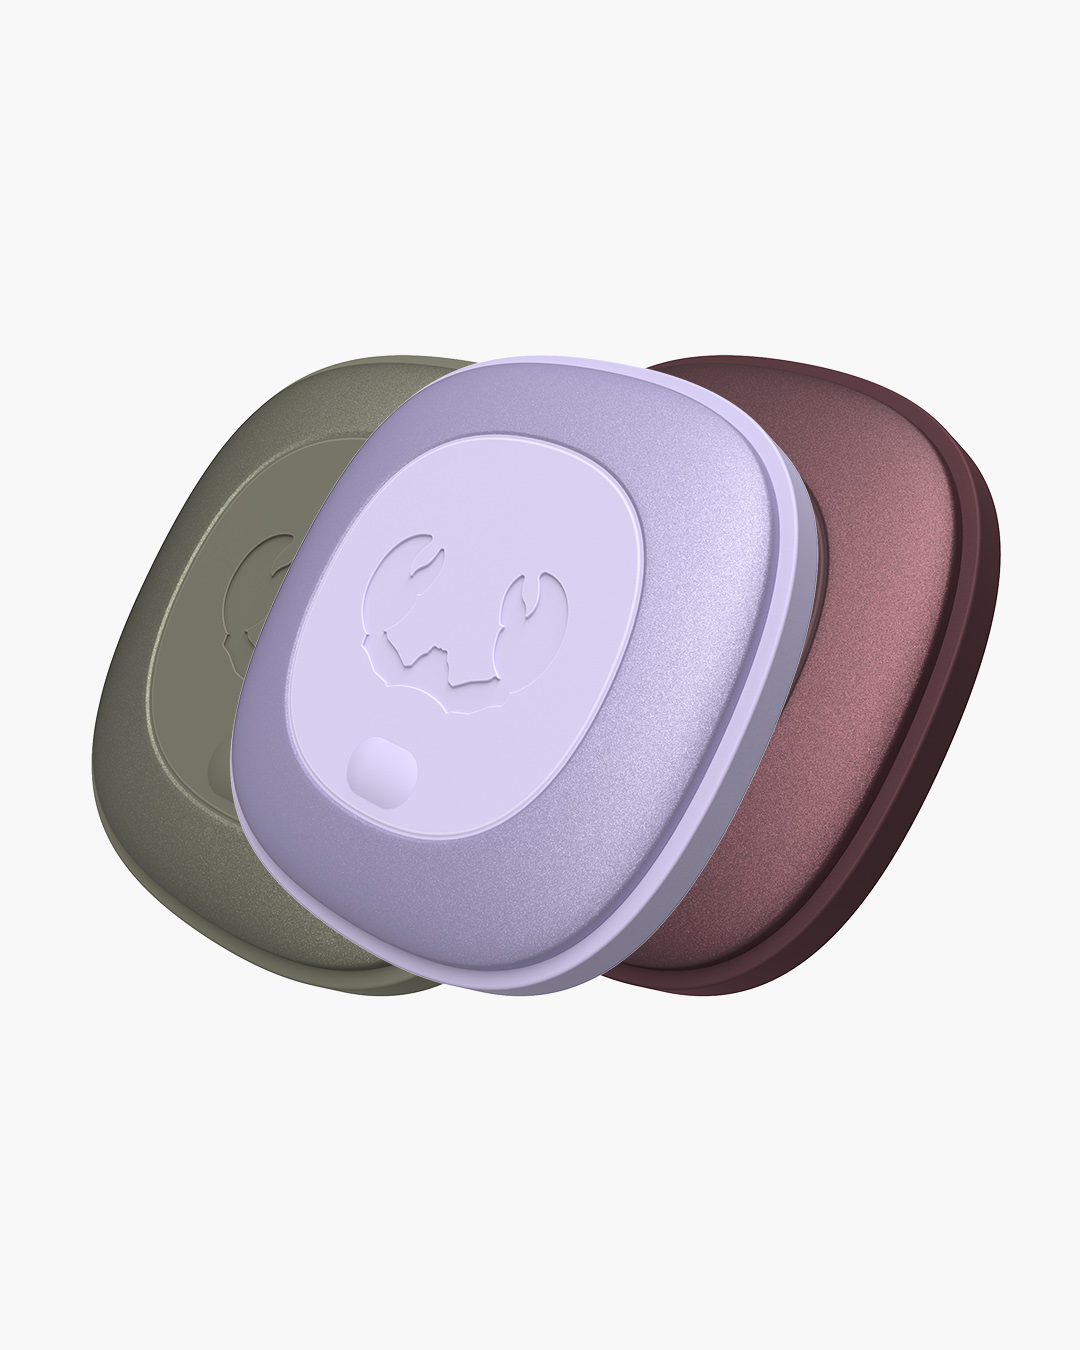

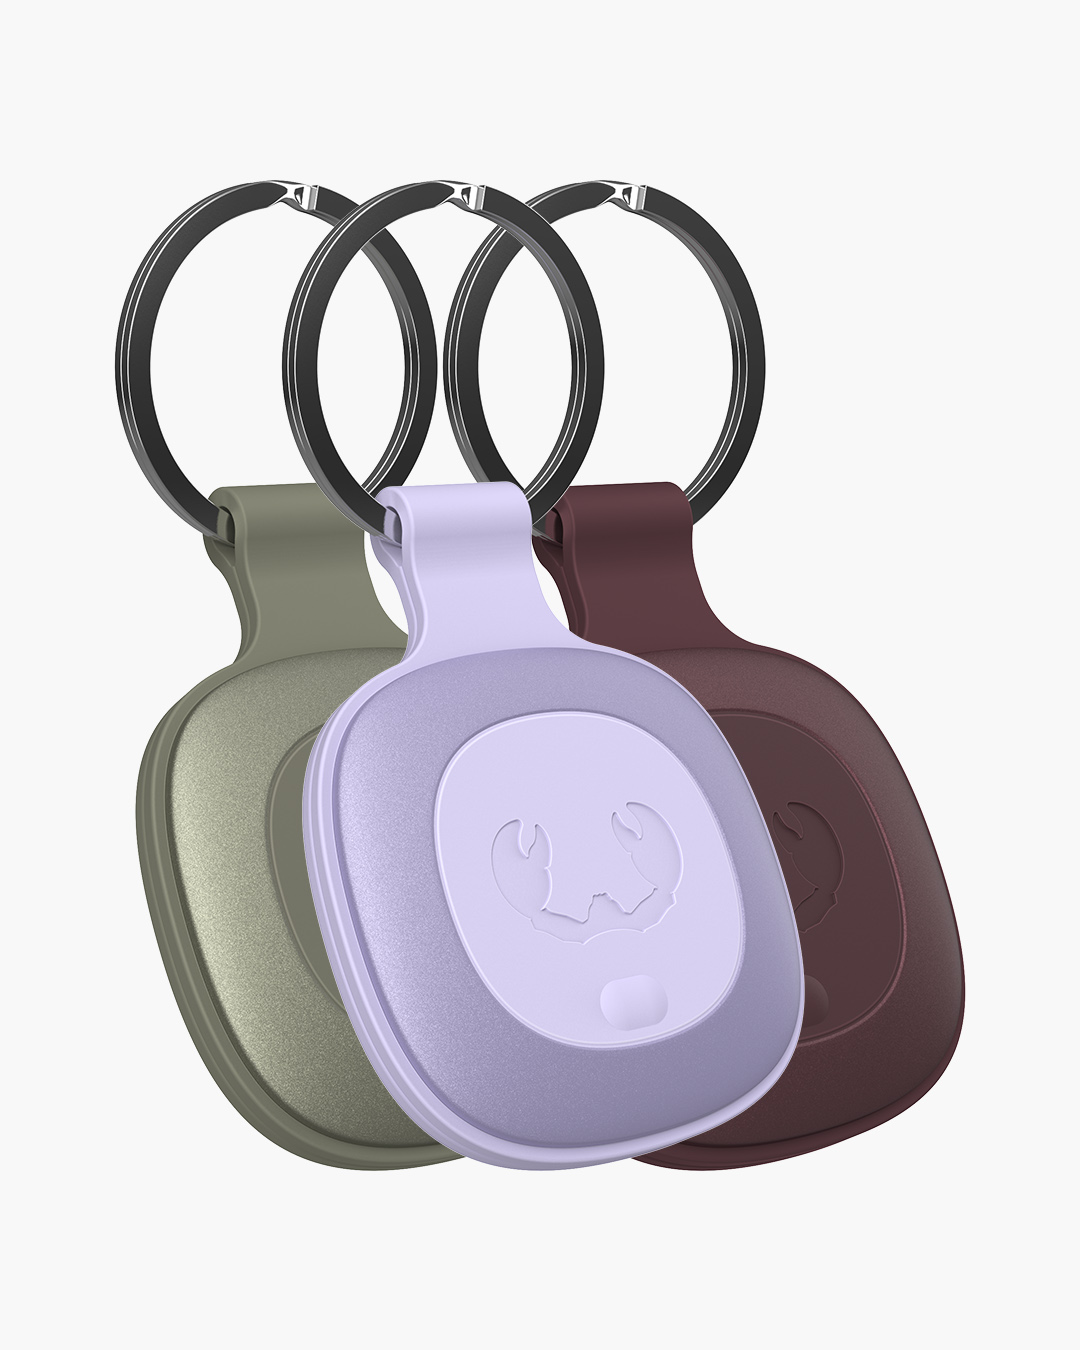
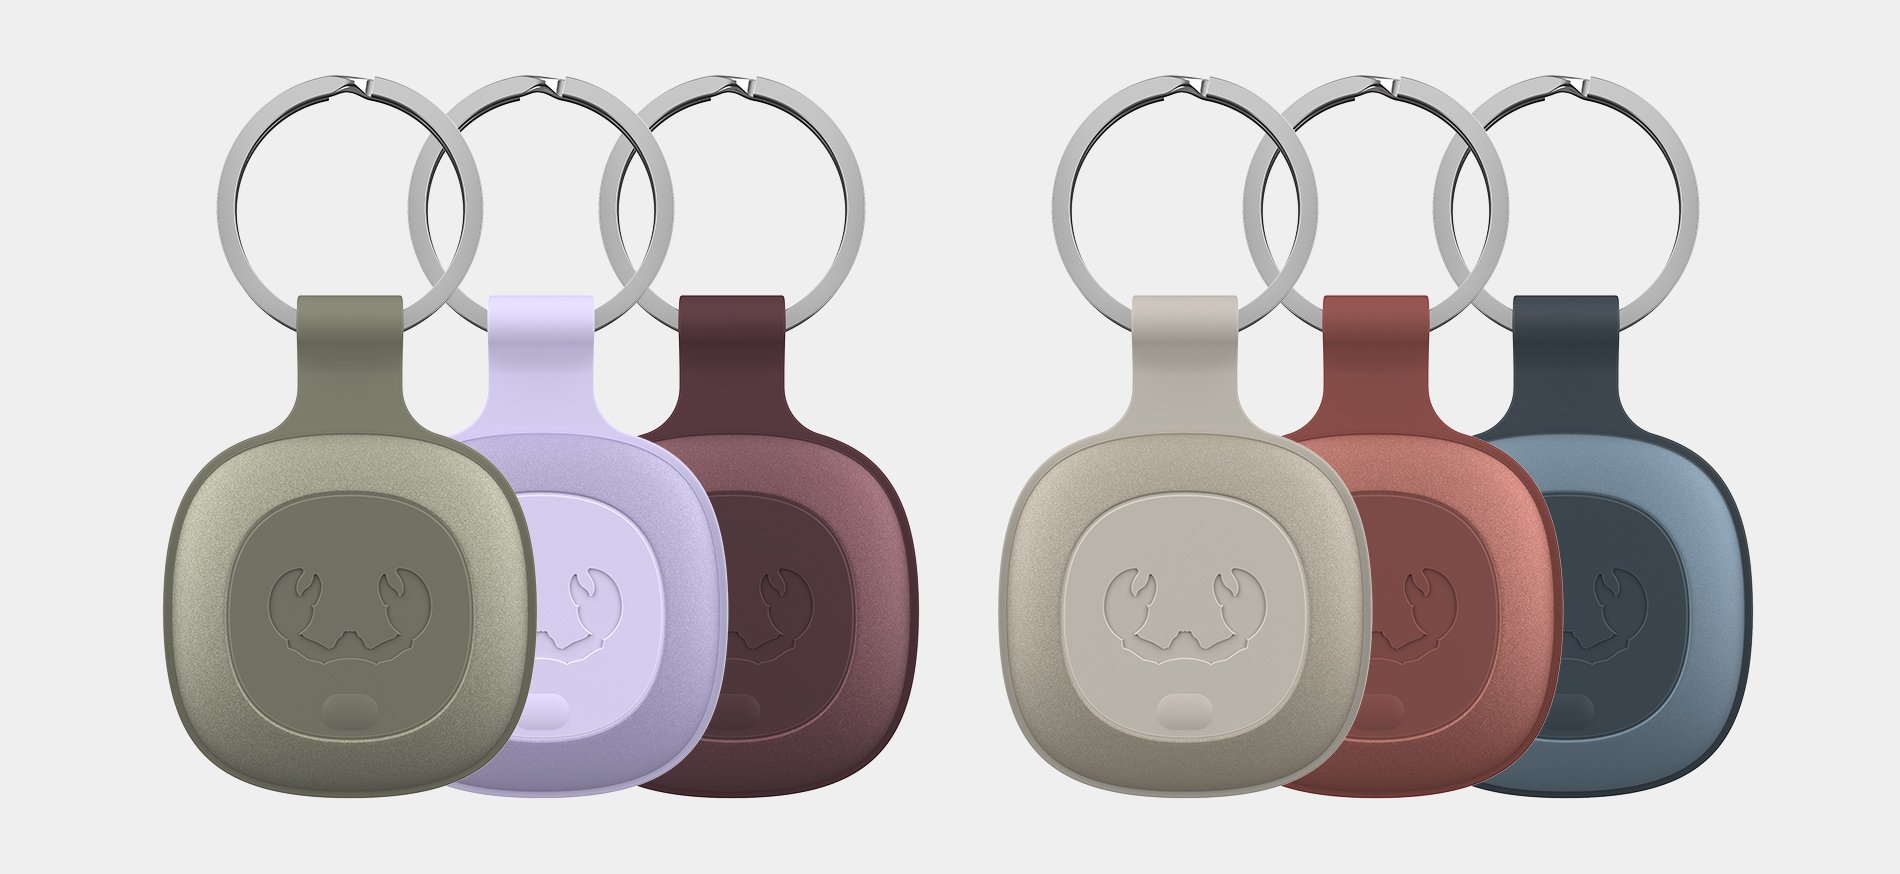
Smart Finder (3 Pack)
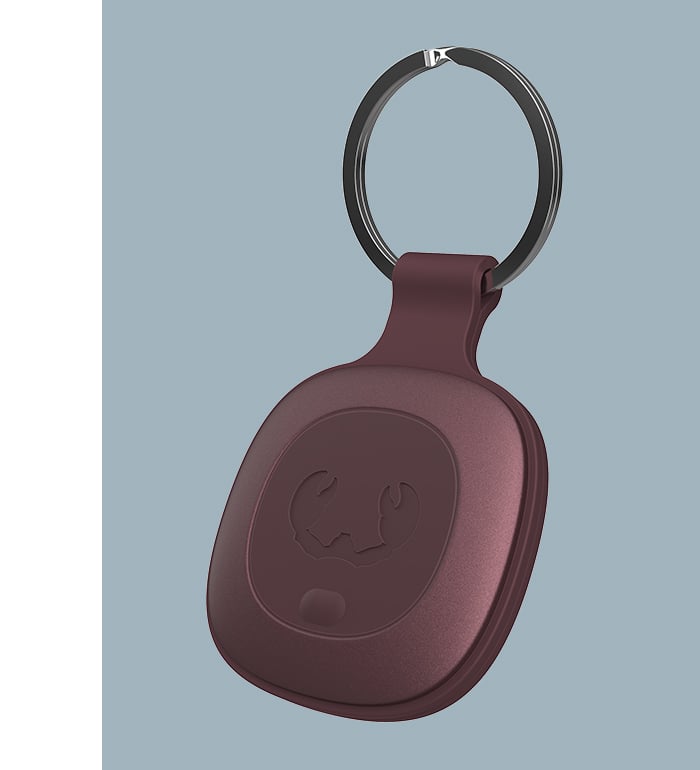
With Fresh 'n Rebel's Smart Finders you can always keep track of your favourite items, no matter where in the world they are. Attach the Smart Finders to your your keys, wallet, bag, luggage, e-bike or pet and easily locate them using the Apple Find My app on your iPhone, iPad, Mac or the Find Items app on your Apple Watch. With our '3 Pack' you can keep track of multiple items at the same time!
- Find My-enabled
- Supports Lost Mode, Notify When Found and Notify When Left Behind
- Built-in speaker for beeping sounds
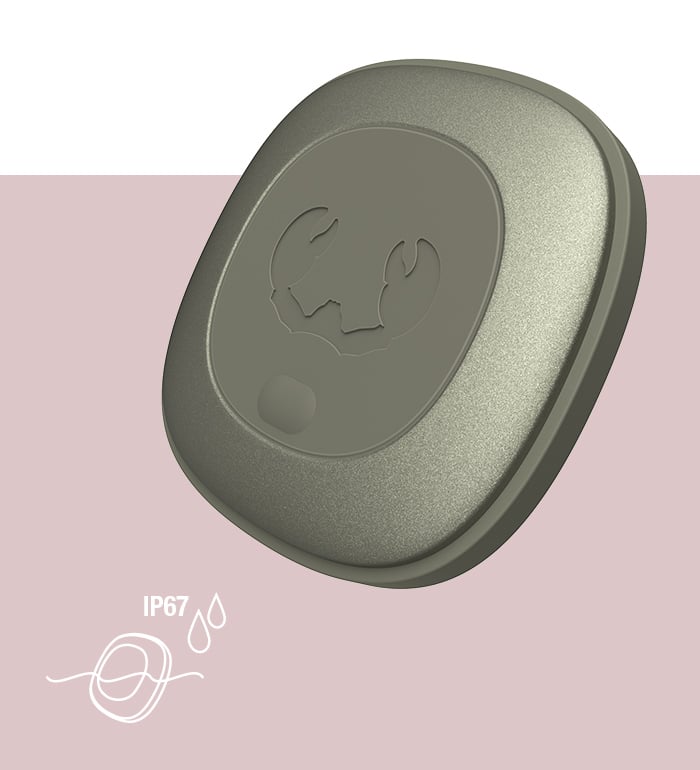
- Waterproof and dustproof (IP67)
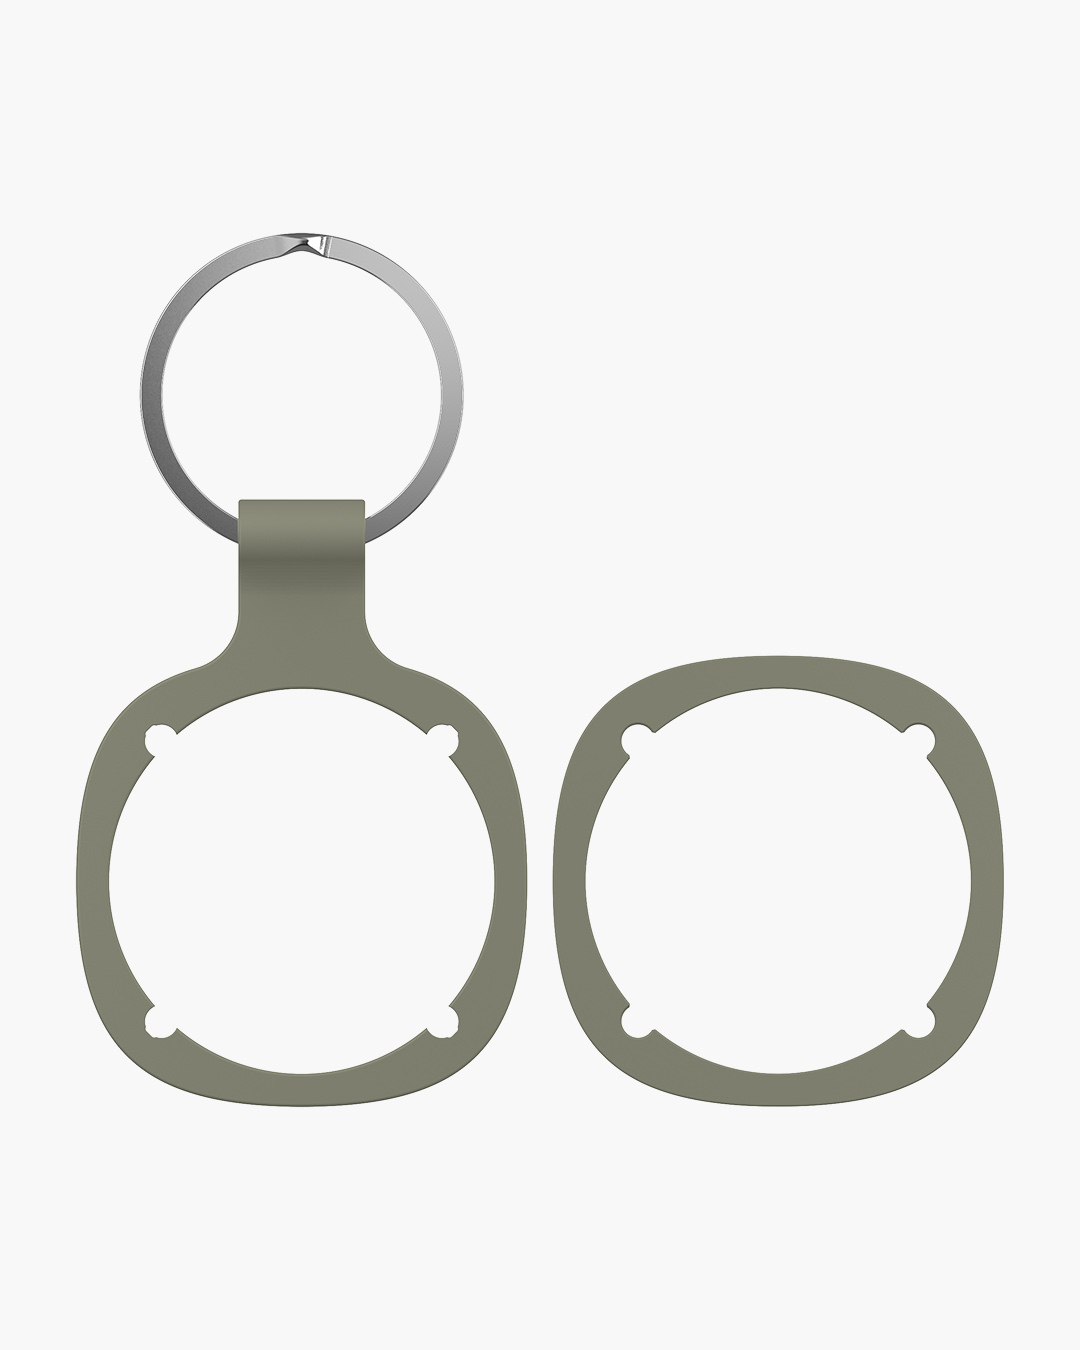
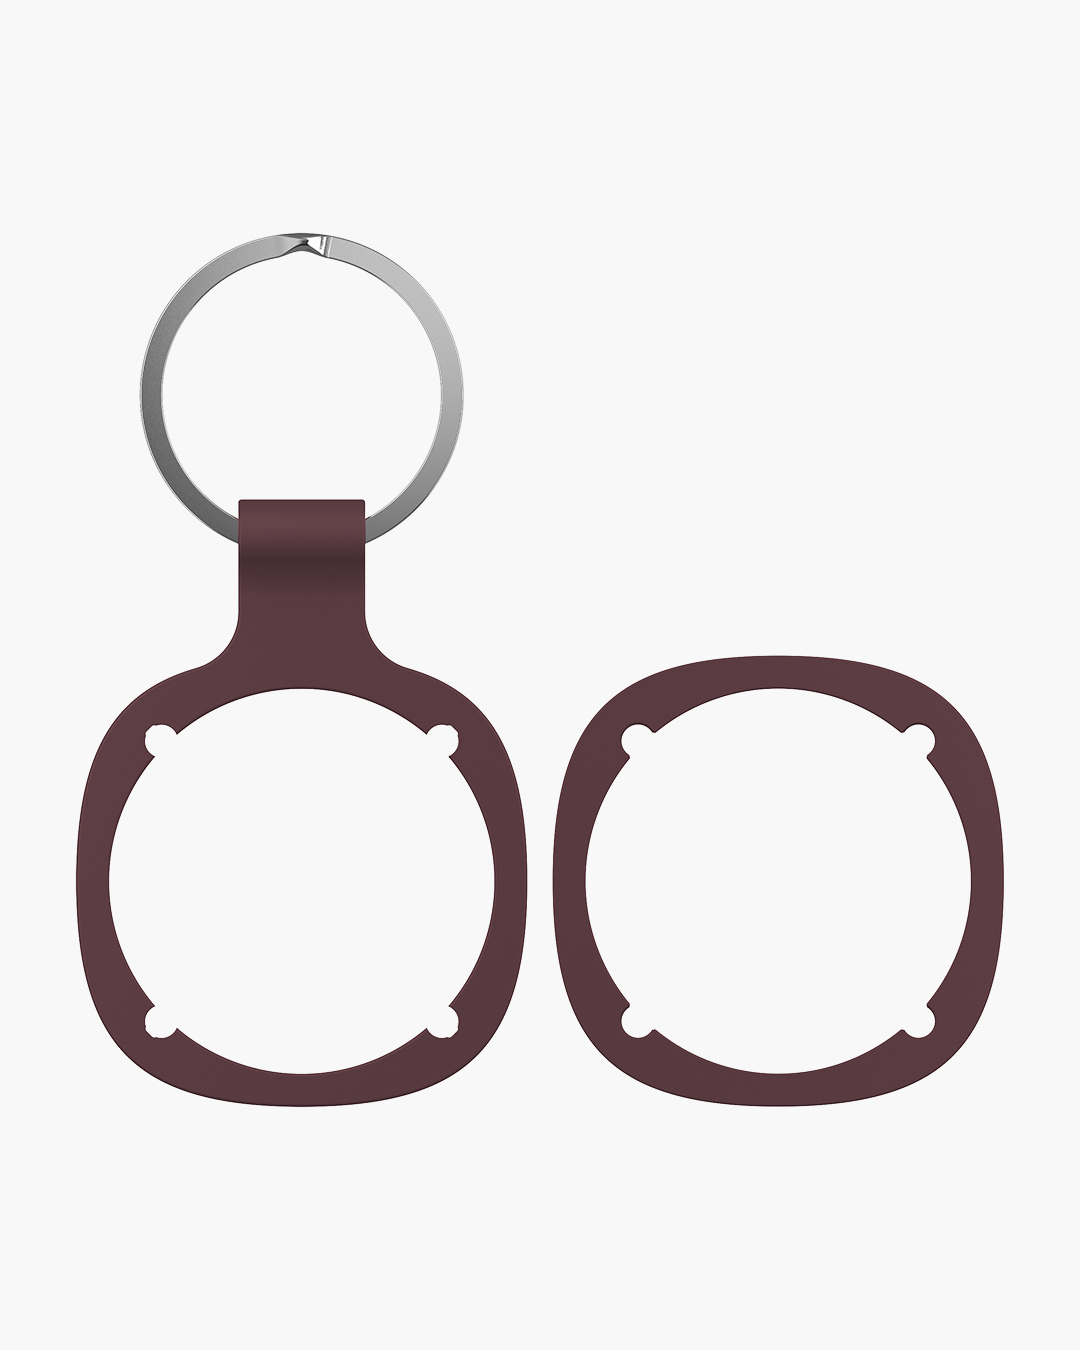
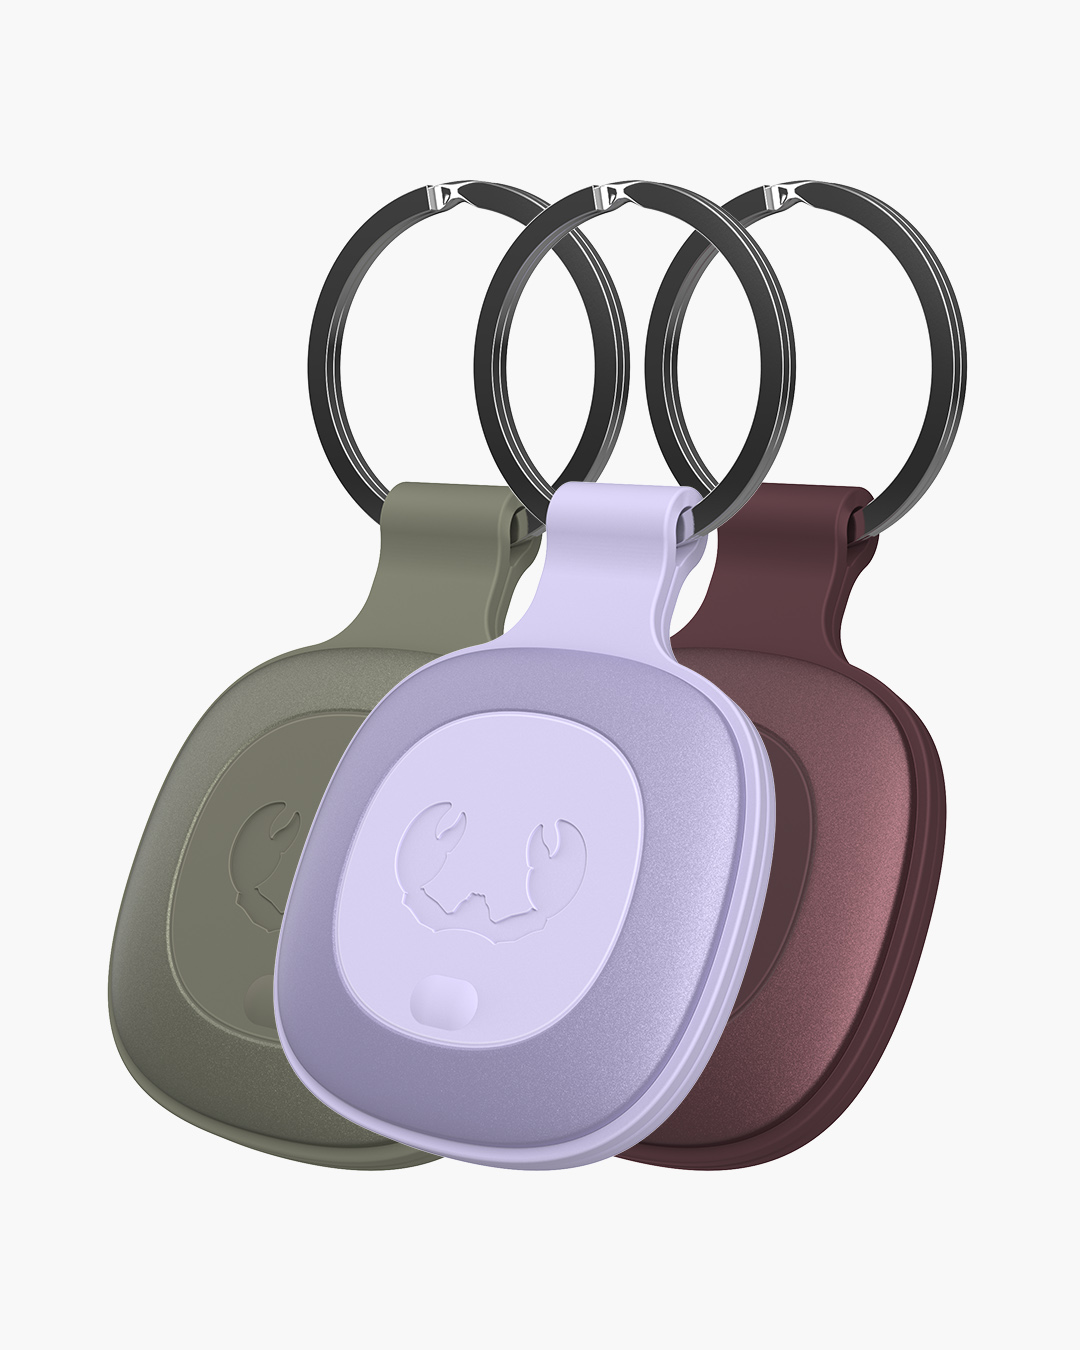
- Including detachable (key ring) bumpers
- Replaceable battery (CR-2032)
£44.99
Available, delivery time up to 2 weeks
-
 Secure checkout
-
 Free delivery > €50
-
 Always free returns
-
 Quick & personal support
- SKU: 6SFT3P2
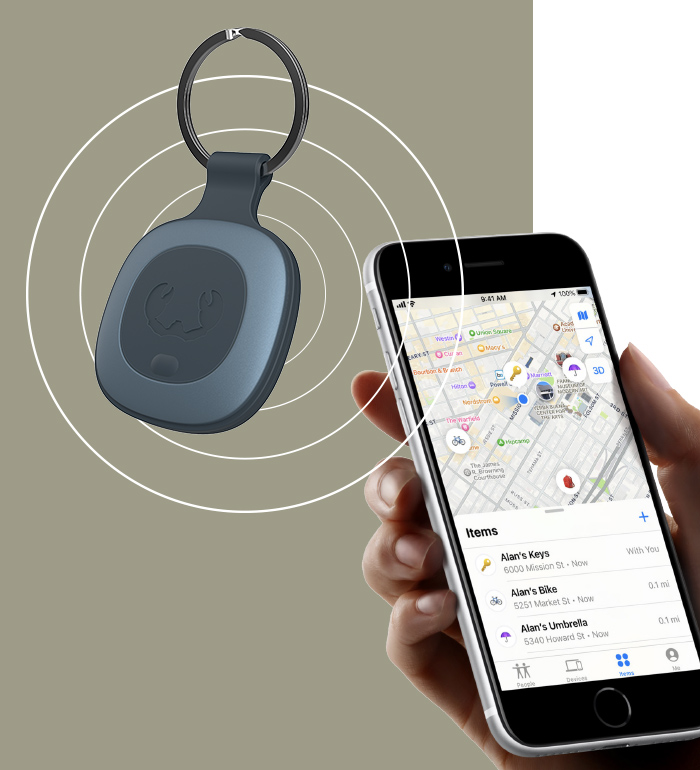
Find My network
Got you(r) back
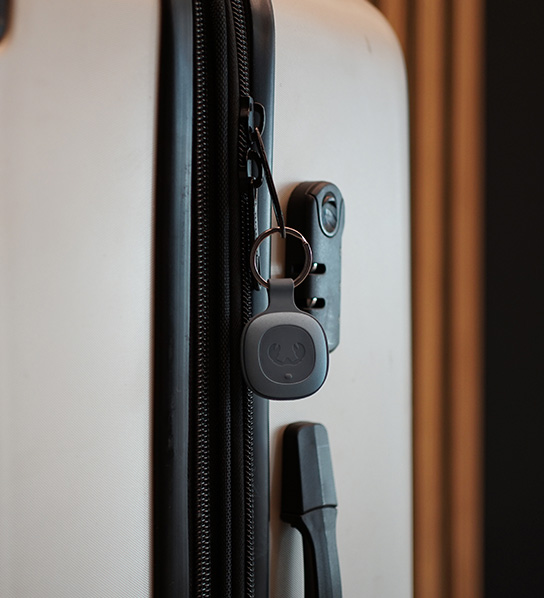
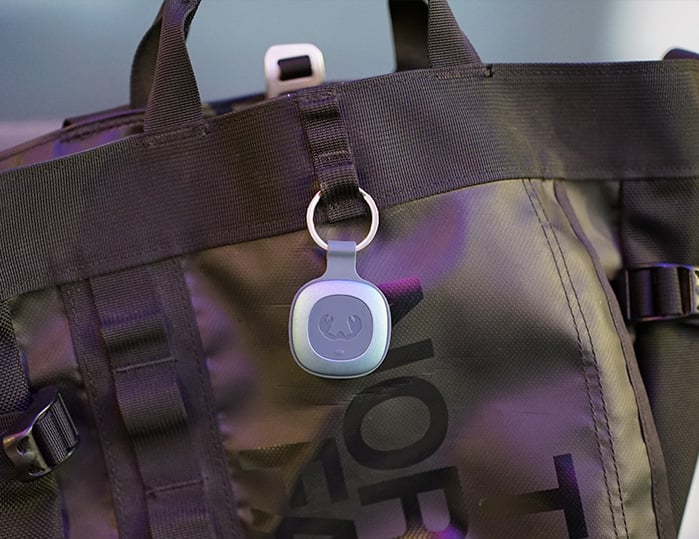
With the Smart Finders you can always keep track of your items, even if they're far away. "How?!" you may think. Easy! The Smart Finders send out a secure Bluetooth signal to any nearby device in Apple's Find My network (mostly iPhones). These devices send the location of your Smart Finders back to your Apple device. In the Apple Find My app you will be able to see the location of your Smart Finders on a map. Put one Smart Finder in your luggage and attach another one to your backpack and you will always be able to locate your belongings anywhere in the world.

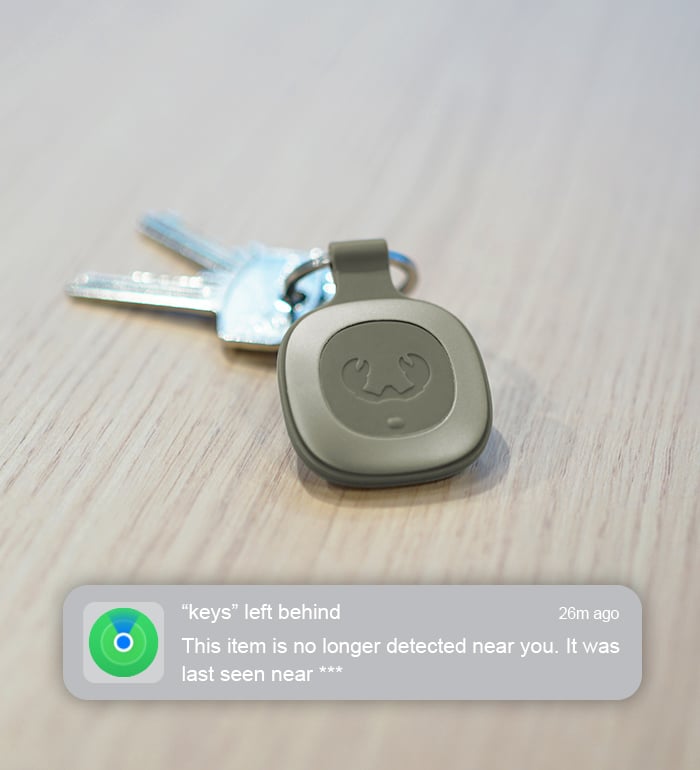
Notifications
Stay in the loop
The Smart Finders support different notification options of the Find My app. When ‘Notify When Left Behind’ was set up, you will receive a notification on your device when your Smart Finder is out of range (Bluetooth). When you’ve attached a Smart Finder to your keys and you leave them at an unknown location, you will be notified. From the Find My app you can see the directions to locate your Smart Finder or you can tap ‘Don’t Notify Me Here’ if you don’t want to be notified when you leave something at that location.
When ‘Notify When Found’ is enabled and your Smart Finder is out of the Bluetooth range of your device, you will receive a notification when your Smart Finder is within Bluetooth range of another device in the Find My network. You can then find its location in your Find My app.
Make sure to set up ‘Lost Mode’ when you’ve lost your item and provide your contact information and a message. The person that finds your Smart Finder can use the ‘Indentify Found Item’ option in the Find My app to access to the contact information you provided and use it to get in touch with you.
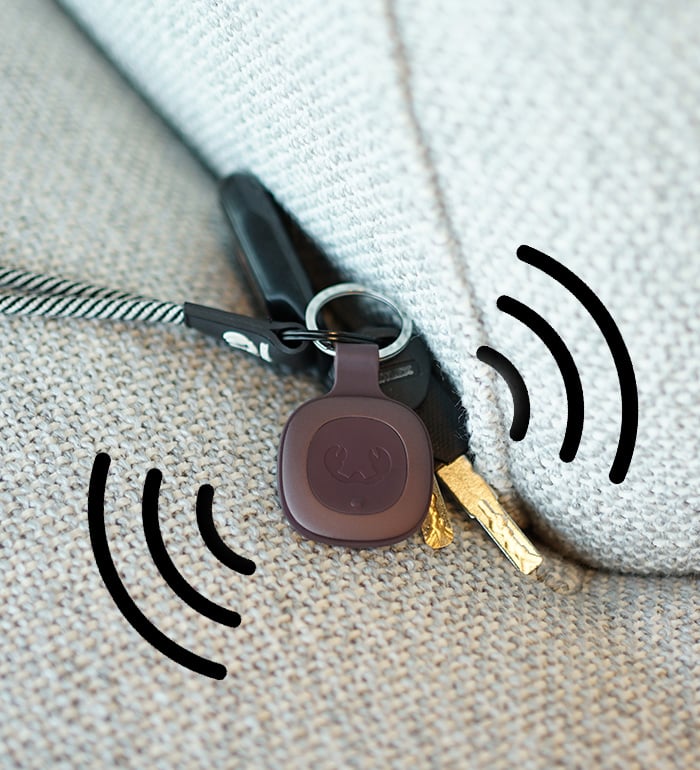
Play a sound
Hide and seek
Does it often happen to you that you can't find your keys or forgot where you put your wallet? Oh well, it happens to the best of us. When you've attached a Smart Finder and you know it's nearby, you can use the Find My app to make it play a 'beep'. Simply follow the sound to find your item back.
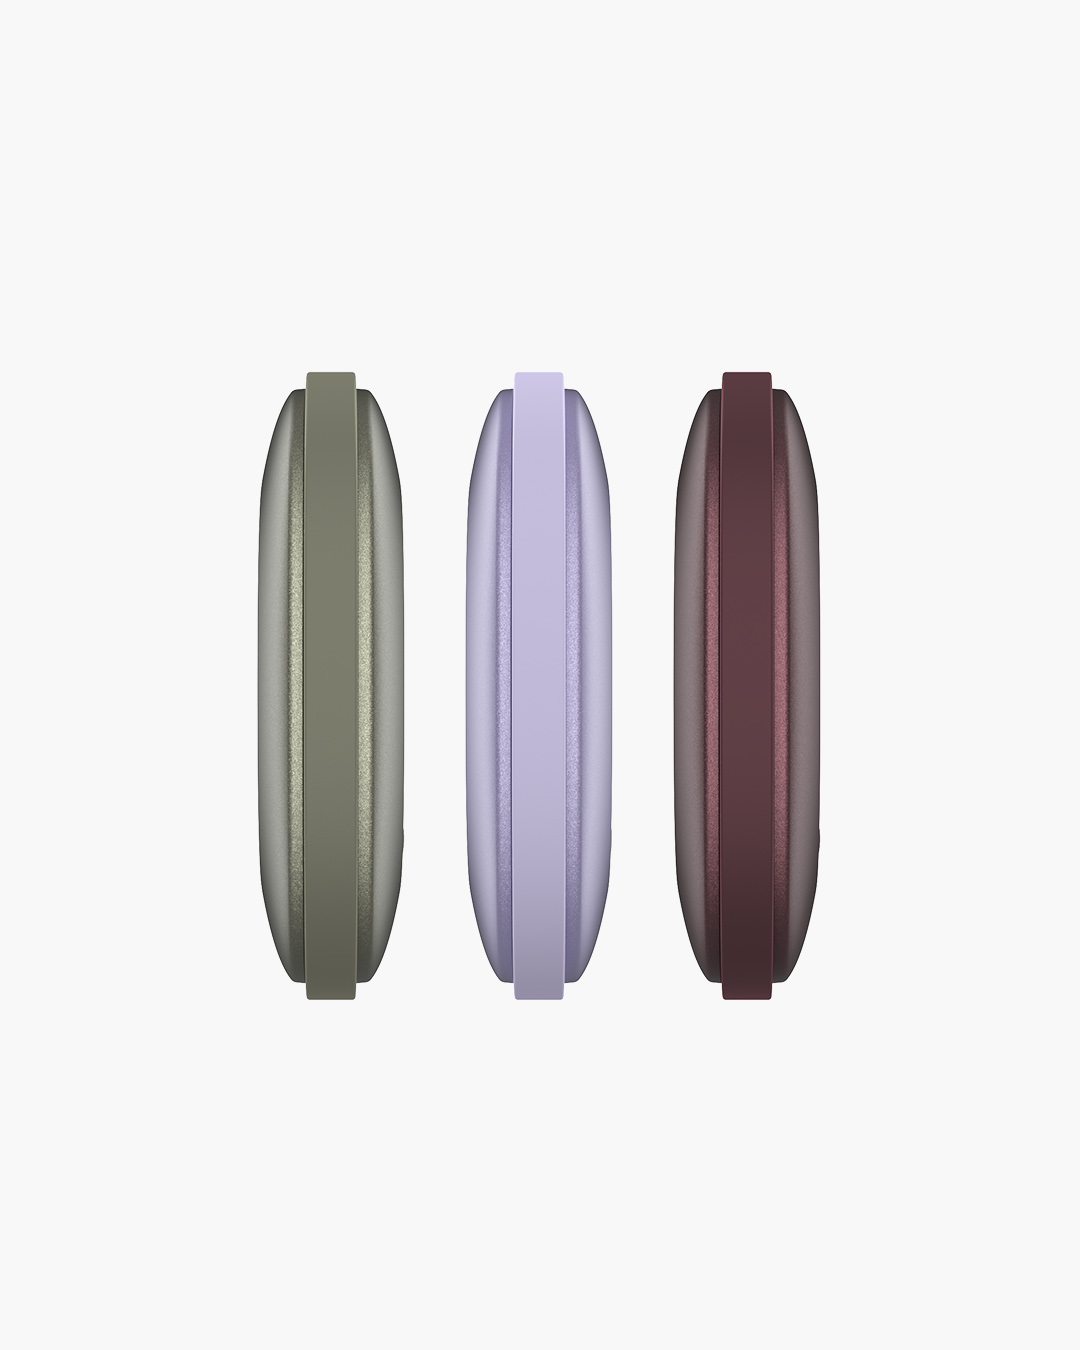
Dust- and waterproof
Go wherever
The Smart Finders are IP67 dust- and waterproof, which means they can really be attached to anything, in any situation. You can attach them to all your favourite belongings without worry, because the solid housing protects the Smart Finder against dropping, shaking and hitting.
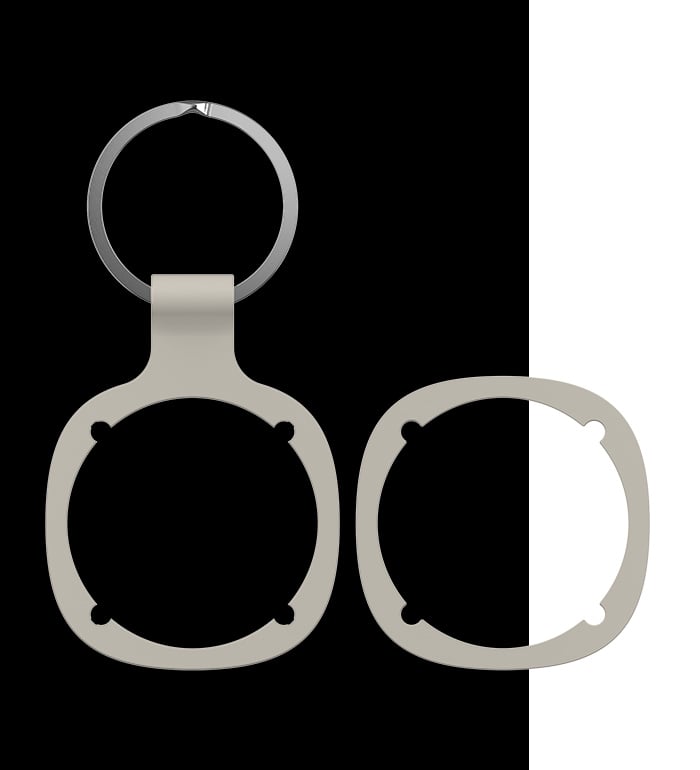
Detachable bumpers
Switch it up
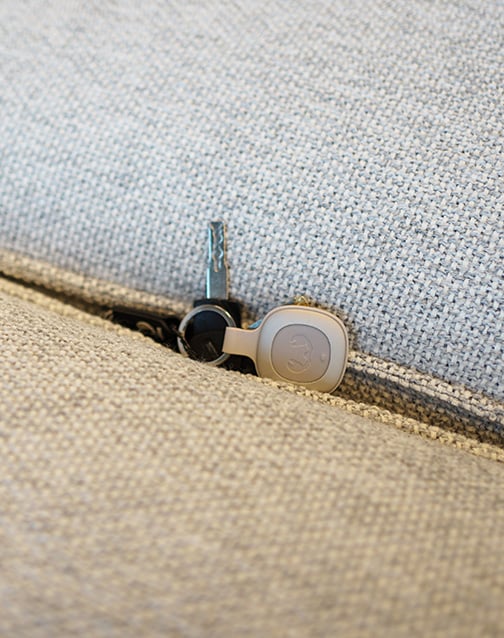
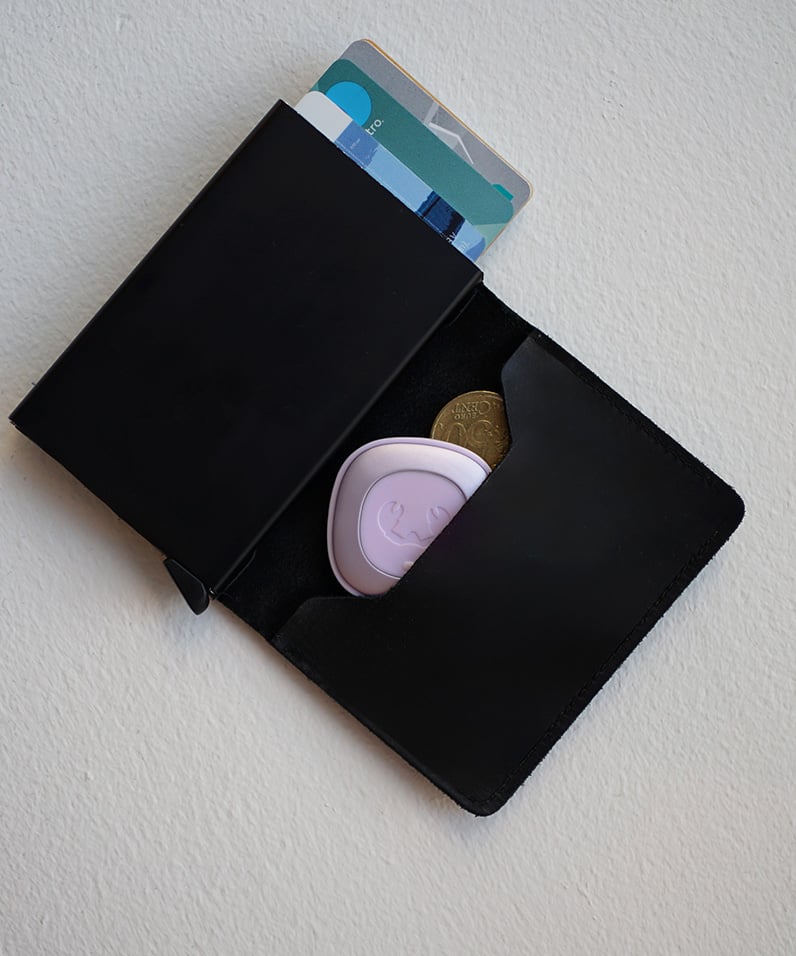
Fresh 'n Rebel's Smart Finders each come with two detachable bumpers: one key ring bumper and one regular bumper. Use the one that suits your wishes best; attach one Smart Finder to your keys and place another one inside your wallet or bag.
Replaceable battery
Long-lasting power
The Smart Finders have a pre-installed replaceable CR-2032 battery that has 8 months of battery life. With the extra batteries, your Smart Finders each have 16 months of battery life in total. You can check the battery status at any time in the Find My app and replace it yourself in time.
Frequently asked questions
With the Fresh 'n Rebel Smart Finder, you can keep an eye on your favourite items anytime, anywhere. Attach the Smart Finder to, for example, your keys, bag or dog and find it your favourites with ease. Besides that, the Smart Finder has useful features, such as a notification when your Smart Finder is out of your reach.
Yes, it is! The Fresh 'n Rebel Smart Finders are IP67 dust- and waterproof. This means your Smart Finder can be submerged in water for up to 30 minutes without breaking down.
The Smart Finder has an pre-installed replaceable CR-2032 battery and lasts 8 months. We include an extra battery, which you can easily replace yourself. The CR-2032 battery is available in many shops.
A tip for the (slightly too) enthusiast ones: check if your device is updated to the latest iOS version and enable Bluetooth.
Step 1: First things first, rotate the Smart Finder a quarter turn to open the device. Remove the battery protection film by pulling it out. The battery is now plugged in.
Step 2: Press the function button once to switch on your Smart Finder. The sound indicates the device is turned on.
Step 3: Open the Apple Find My app on your compatible iPhone or iPad.
Step 4: Click on + and then 'Add item'.
Step 5: Once your Smart Finder is found, tap 'Connect'.
Step 6: Choose a nice name and select an emoji. Then tap ‘Continue’.
Step 7: Click on 'Agree' to add the Smart Finder to your Apple ID.
Step 8: Tap 'Confirm' and your Smart Finder is ready to go!
If the Smart Finder is not added to an Apple ID within 10 minutes after turning it on, it will automatically turn off again. Repeat steps 2 to 8 to try again.
To use the Smart Finder, you need to have an Apple ID. The Smart Finder only works with Apple devices running (iPad)iOS 14.5 or higher. To use the Apple Find My app, the latest version of iOS, iPadOS or macOS is recommended. The Find Items app on Apple Watch requires the latest version of watchOS.
Sharing is caring! You can share the location of your Smart Finder with a maximum of five people.
Follow the steps below to use this feature:
Step 1: Enable two-step verification for Apple ID
Make sure two-step verification is enabled for the device that’s connected to the Smart Finder.
Step 2: Check Apple ID's and iCloud Sign-in
Make sure everyone has an Apple ID. Check if they are signed in to their iCloud accounts as well.
Step 3: Installation of iCloud Keychain
Install the iCloud keychain if you haven’t done that yet.
Step 4: Invitation process via Apple ID
The invitation process works through Apple ID. Follow the steps Apple provides for sending location sharing invitations.
Additional information:
Make sure everyone has iCloud keychain and iOS 17 installed. You cannot share location with a child account.
You can find your Smart Finder anywhere in the world, as long as the Smart Finder can connect to an Apple device from the Find My network nearby. You can use the sound to find the Smart Finder up to 10 metres, whether it’s perfectly audible depends on e.g. ambient noise and possible obstacles between the Smart Finder and the paired device. The Smart Finder's exact location has accuracy range of a few metres. The sound allows you to locate the exact spot of the Smart Finder.
We get it, our Smart Finder is such a great tool, you want to use it for all your favourite items! That's why it is possible to link multiple Smart Finders to one device, up to 16 Smart Finders for each Apple ID.
Our Smart Finders use the Find My network. This means that if your Smart Finder goes out of range of a paired Bluetooth device from the network, the location can no longer be updated. Therefore, it’s important that your Smart Finder has Bluetooth reception to know its location.
The battery of the Smart Finder lasts about 8 months. The actual lifespan is affected by factors such as frequency and duration of use.
You can only identify a found Smart Finder if the owner has put the Smart Finder in 'Lost Mode'. Do this by checking the Smart Finder with your Find My app. Is 'Lost Mode' not enabled? Then the person who found the Smart Finder won't be able to find out who the item belongs to.
Time for a reset? Follow these steps and your Smart Finder will be reset in no time!
Step 1: Remove the Smart Finder from the Find My app:
- Open the Apple Find My app and select the 'Items' tab.
- Click on the Smart Finder in the list. Tip: make sure 'Lost Mode' is disabled.
- Scroll to the bottom of the screen and tap 'Delete item'.
- The app provides a summary, click 'Delete' to confirm.
Step 2: Have you successfully removed the Smart Finder from the Find My app? Quickly press the function button four times. Press and hold the button a fifth time until you hear a ringtone. Et voilà, your Smart Finder has been reset!
Want to link the Smart Finder to a new Apple ID? Switch off your Smart Finder by pressing the function button for at least three seconds. The two beeps indicate that your Smart Finder has been turned off. You're ready for a fresh start!